Building the right sauna benches can make or break your sauna experience. After all, you’ll spend every minute of your sauna session sitting or lying on them. Get the height wrong, and you’ll miss the best heat. Choose the wrong wood, and you might end up with hot knots burning your skin. Skip proper support structure, and you’ll have creaky, unstable benches that ruin the relaxation.
Here’s the thing – sauna benches aren’t just rectangles of wood screwed to the wall. They’re the heart of your sauna, where comfort meets function. The good news? With the right guidance, building them yourself is totally doable. This guide walks you through everything from choosing your wood to the final installation, including the actual construction details that other guides seem to skip.
For any questions or for premium bench building material, contact us online or call (612) 505-9700 to talk to a sauna specialist.
Table of Contents
- Choosing Your Bench Materials
- Planning Your Bench Layout
- Determining Bench Dimensions
- Building the Support Structure
- Installing Wall Cleats for Sliding Benches
- Constructing the Bench Frame
- Adding the Sitting Surface
- Installation and Finishing Touches
Choosing Your Bench Materials
The wood you pick for your benches matters more than anywhere else in your sauna. This is where skin meets wood at 180°F – any knots, resin pockets, or rough spots become real problems fast.
Why Knot-Free Wood is Non-Negotiable
Those little knots in cheaper lumber? They get hot enough to burn. Think of them as tiny heat magnets that concentrate temperature. While knotty pine might look rustic on your walls, but bench tops need clear, knot-free wood. Period.
Best Wood Options for Bench Tops
Clear Western Red Cedar remains the classic choice. The natural oils resist moisture, it smells fantastic when heated, and it stays relatively cool to the touch. Just make sure you’re getting clear cedar – the knot-free grade. Yes, it costs more than knotty cedar, but trust me on this one.
Aspen or Abachi work beautifully, especially if your sauna interior uses Nordic Spruce. These woods are nearly white, completely knot-free, and stay cooler than most options. Abachi is particularly nice – it’s what Finnish sauna builders often use for benches even when the walls are different wood. The grain is tight, it doesn’t splinter, and it handles moisture like a champ.
Hemlock offers another solid option. Clear Canadian Hemlock has a neutral color that works with any interior, holds up well over time, and doesn’t have the strong scent of cedar if that’s not your thing.
Thermo-treated woods (like Thermo-Aspen) give you that rich, dark color if you’re after a modern look. The heat treatment process makes the wood more stable and moisture-resistant, though it does cost more.
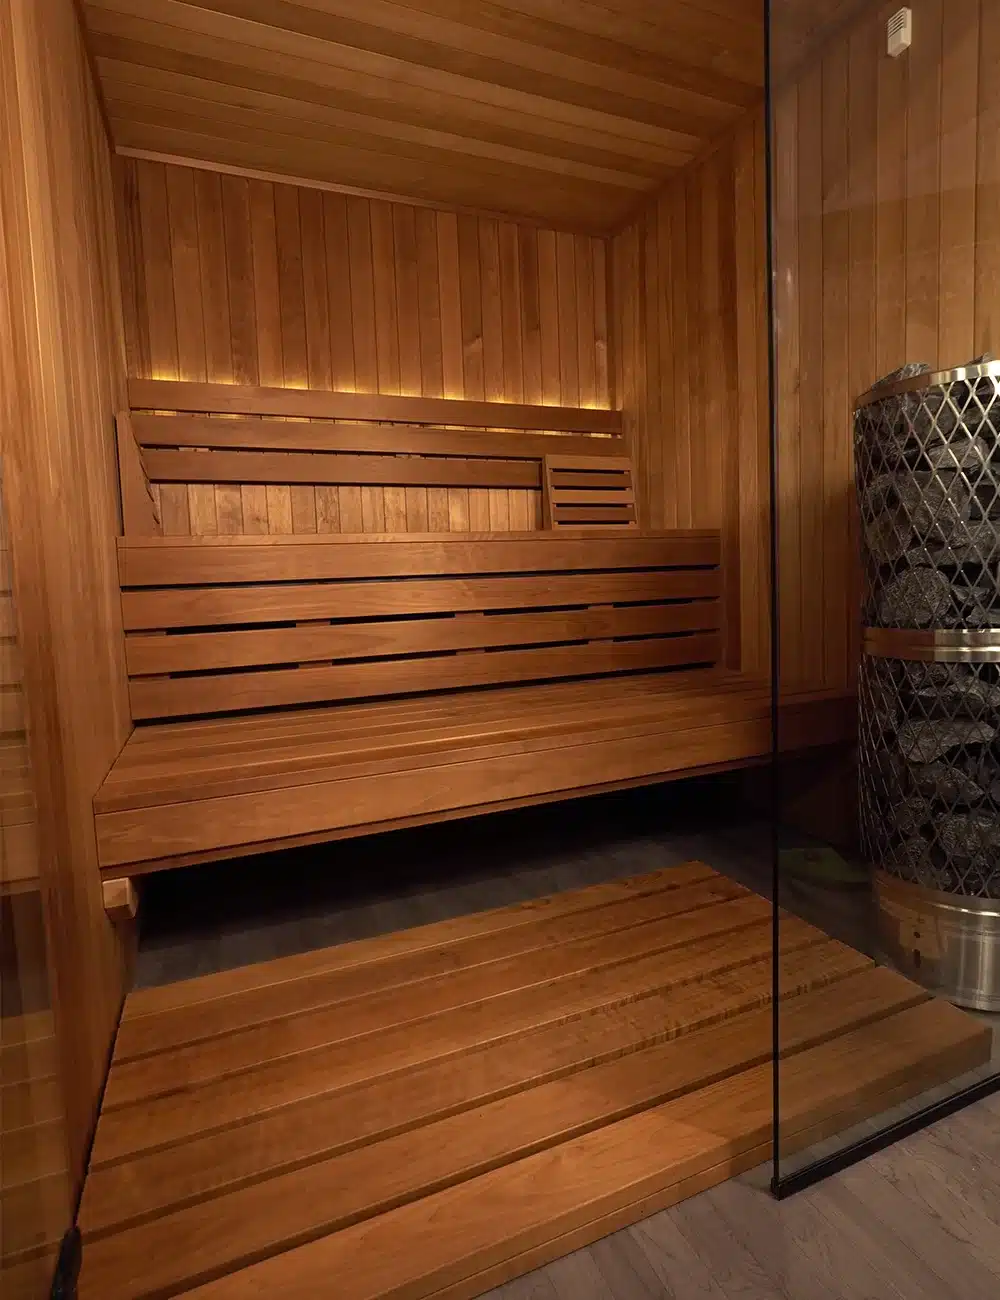
Photo of custom clear cedar indoor sauna.

Photo of clear hemlock sauna walls & bench/ backrests.
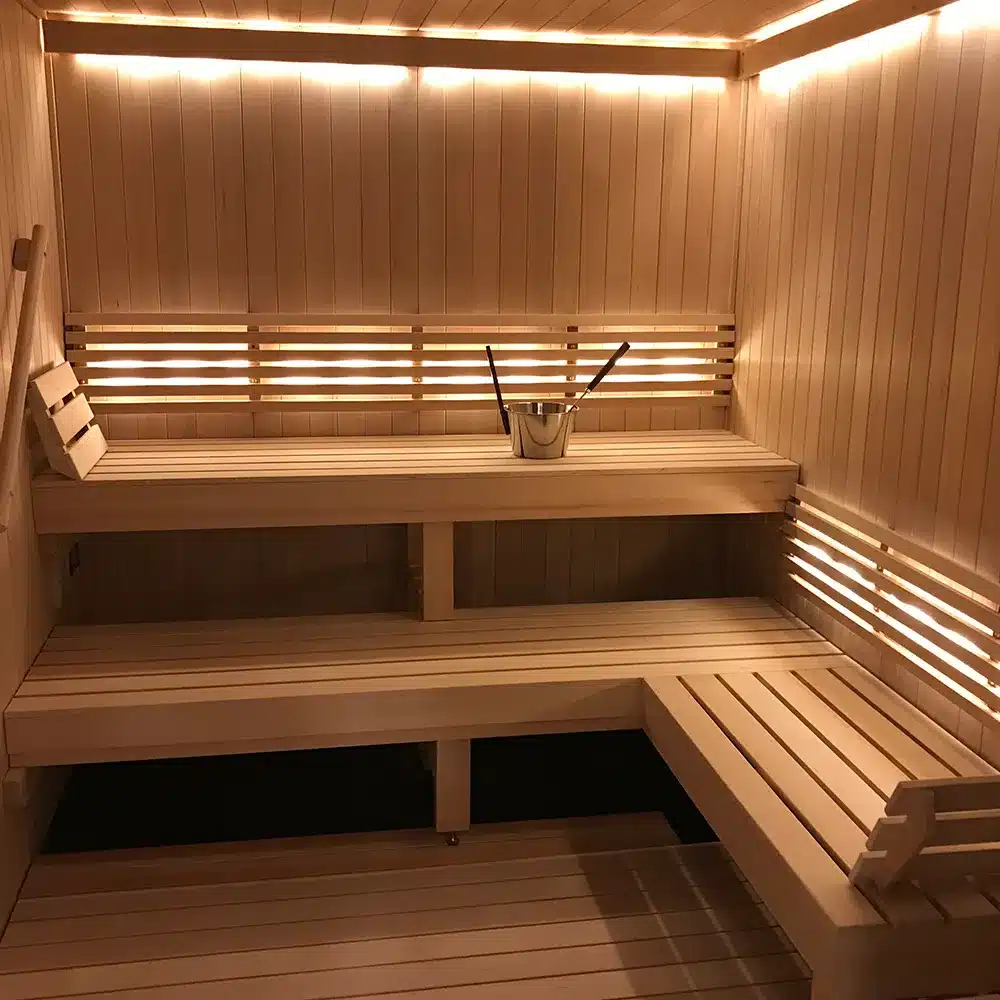
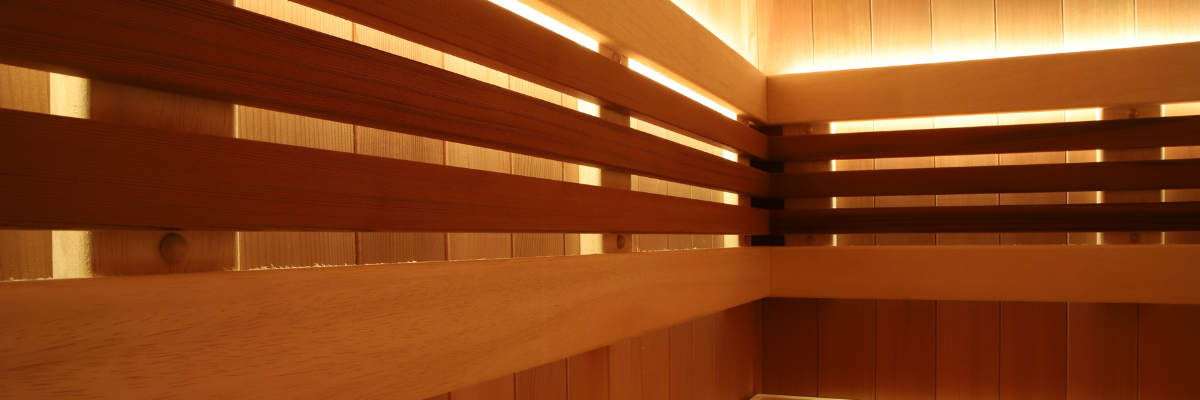
The photo below shows one of our outdoor saunas that features Nordic Spruce and Abachi Benching and Backrests.
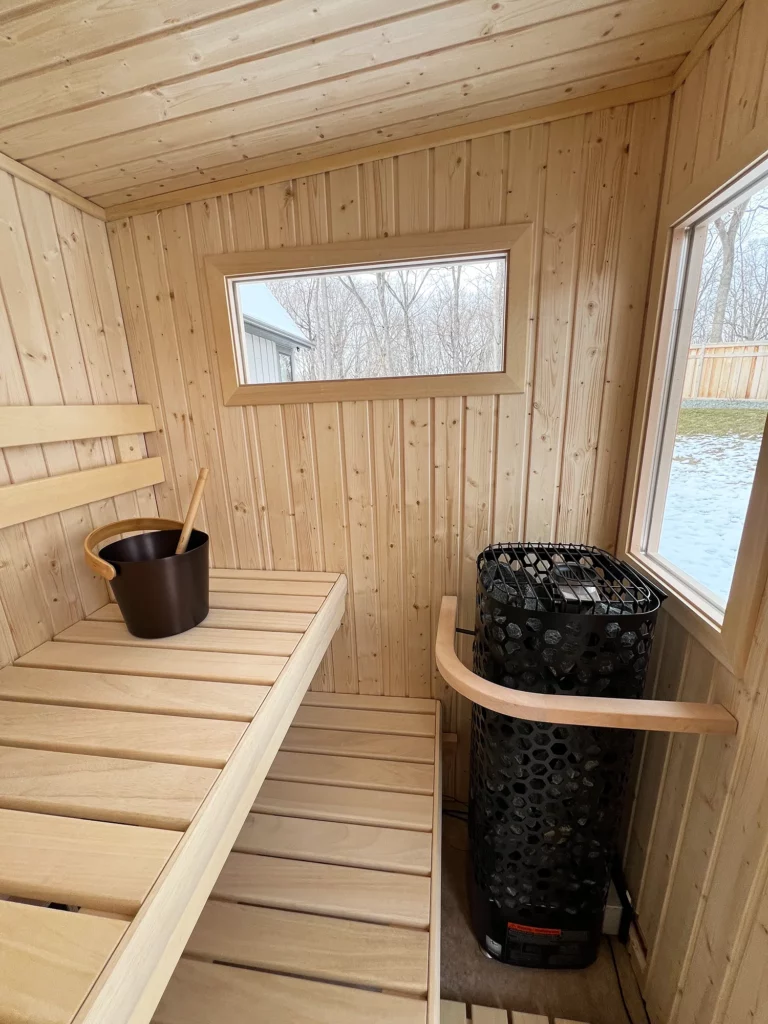
Photo of custom indoor thermo-aspen sauna.
What About the Frame?
Here’s where you can save some money. Your bench frame – the 2×4 structure that nobody sees – doesn’t need to be premium wood (that said we’ll use hemlock or cedar in our high-end custom sauna builds). Regular construction-grade 2x4s work fine for the frame since they’ll be completely covered by your bench top boards. Some builders use pressure-treated lumber for extra durability, though standard kiln-dried framing lumber works too. If you’re worried about the frame showing through gaps in lighter woods, you can paint the frame black with sauna-safe wax, but honestly, most people never notice.
Planning Your Bench Layout
Before cutting any wood, think about how you’ll actually use your sauna. The layout determines everything from comfort to heat distribution.
The L-Shaped Advantage
If your sauna is large enough (at least 6′ x 6′), an L-shaped bench configuration gives you the best of both worlds. The long side lets someone lie down fully stretched out, while the short side provides extra seating or a spot to prop up your feet. The two benches also support each other structurally when built properly.
Two-Tier System: Why It Matters
Traditional saunas almost always have two bench levels, and there’s good science behind it. Heat rises, so the temperature difference between floor level and ceiling can be 40-50°F. Two tiers let you choose your heat intensity – climb up when you want more heat, move down to cool off slightly.
The lower bench also serves as a footrest when you’re sitting up top. Nobody wants their feet dangling or touching the cold floor during a sauna session.
Ocassionally we’ll build custom saunas with three tiers of benching, but those are in saunas with 8′ ceilings — which is a ess common sauna design.
Clearance from the Heater
Check your specific sauna heater’s manual for clearances to flammable material (like benches and walls) and plan accordingly. You may have to adjust the size of your benches, but it’s better to know and plan ahead than have to rebuild benches later.
Determining Bench Dimensions
Getting the measurements right makes the difference between a comfortable sauna and one you’ll want to rebuild.
Height: The Most Critical Measurement
These numbers are assuming a 7′ sauna ceiling (standard height in American saunas).
Upper bench: 35″ from the floor works for most people. This puts you in the sweet spot where the best heat lives – not so high that tall people hit their heads, not so low that you’re missing the good löyly.
Lower bench: 17″ from the floor, creating an 18″ gap between benches. This spacing lets most people (5’6″ to 6’2″) sit comfortably with their feet on the lower bench. If everyone using your sauna is over 6’2″, measure from kneecap to floor while sitting and adjust accordingly.
Pro tip: In a 7′ ceiling sauna, these heights leave about 8-10″ between a tall person’s head and the ceiling when sitting upright – perfect for comfort without wasting heat in unused space.

Width: Wall to Wall When Possible
Maximize bench length by running them wall to wall. Measure between your finished walls (after the tongue-and-groove is installed) and subtract 1/8″ to 1/4″. This tiny gap lets you slide the bench into place without scraping the walls and makes removal easy for deep cleaning.
For benches under 7’4″ long, wall-mounted cleats on each end provide enough support without a center leg.
Depth: Balancing Comfort and Space
Upper bench: 24″ deep if you want to lie down comfortably, 20″ if space is tight. Remember, a backrest will steal about 1-1.5″ of sitting depth, so factor that in.
Lower bench: 16-20″ deep works well. Some people go as narrow as 12″ if it’s purely a footrest (not recommended as this can get tippy), but 16″ gives you actual usable seating when needed.
Building the Support Structure
Now for the part most guides gloss over – actually building these benches. Let’s start with the all-important support structure.
Wall-Mounted Cleats: The Foundation
Wall-mounted cleats let your benches slide in and out for cleaning – a huge advantage over fixed benches with legs on the floor. Here’s how to build them:
For the upper bench:
- Cut two 2x4s to match the depth of your bench (typically 20-24″)
- Mark stud locations on your walls at 35″ height (or your chosen upper bench height)
- Level and secure these 2x4s horizontally along the side walls using 3″ screws into every stud – two screws per stud for strength
For the lower bench:
Follow the same process at 17″ height.
Installing Wall Cleats for Sliding Benches
The beauty of sliding benches is easy removal for cleaning, but they need proper cleats to work right.
Creating the Slide System
- Side cleats: Install double 2x4s (creating a 3″ thick ledge) on each side wall. The top of these cleats should align with your planned bench height minus the thickness of your bench frame and top boards.
- Critical detail: Leave the front open – no support here. This allows you to lift the front of the bench slightly and slide it out for cleaning.
Securing Cleats Properly
- Pre-drill all holes to prevent splitting
- Use 3″ construction screws or deck screws
- Hit at least two studs per cleat on side walls
- Check level constantly – even a slight angle makes benches slide poorly
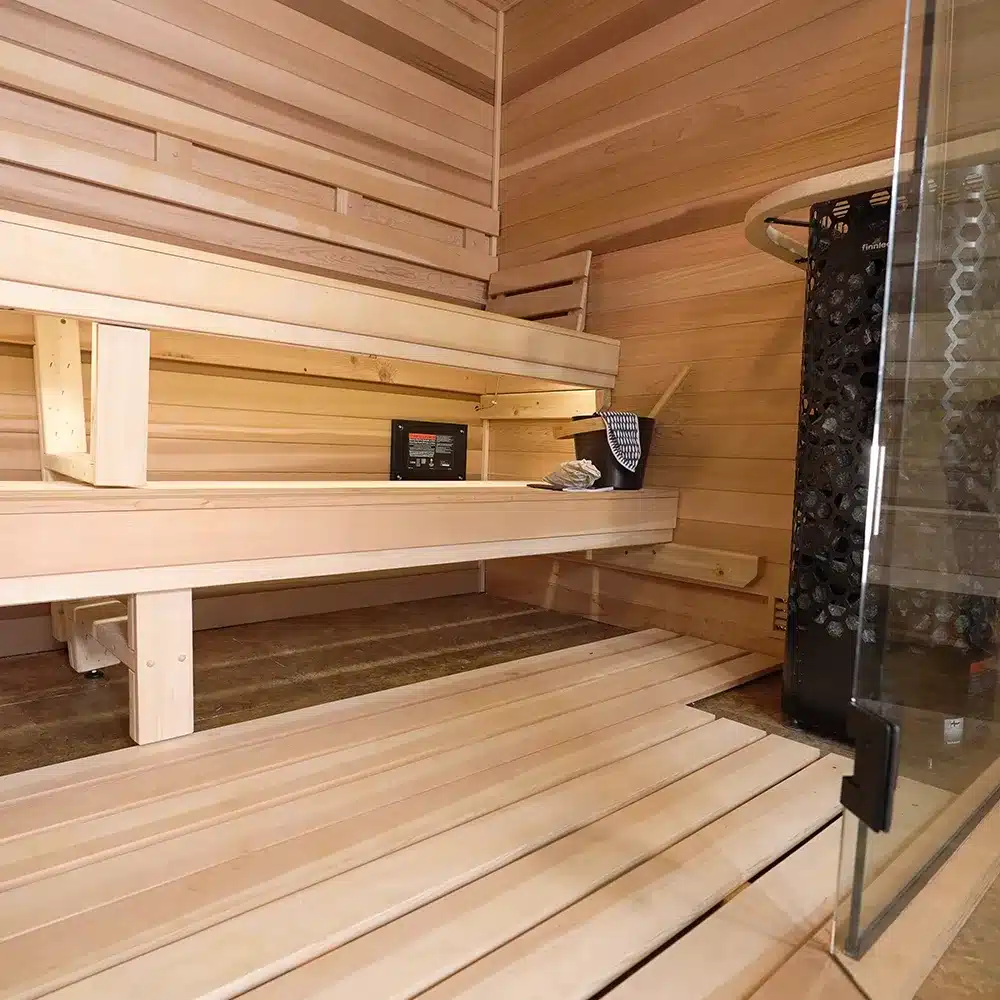
This photo shows the wall cleats attached to the sauna walls. You’ll notice these benches also have center supports — this is because the benches are longer than 8′ long.
Constructing the Bench Frame
Time to build the actual bench frame that sits on those cleats.
Basic Frame Assembly
- Cut your frame pieces:
- Two long pieces: Length of bench minus 1/4″ for clearance
- Two short pieces: Depth of bench minus 3″ (accounting for the thickness of the long pieces)
- Assemble the rectangle:
- Pre-drill and connect with 3″ screws
- Two screws per corner, minimum
- Check for square by measuring diagonally – both measurements should match
- Add cross supports:
- Cut 2x4s to fit between the long sides
- Space them every 16-18″ for optimal support
- Secure with two screws on each end
Adding the Sitting Surface
This is where your sauna bench becomes real. The top surface needs to be comfortable, safe, and properly gapped for drainage and air circulation.
Preparing Your Top Boards
For the sitting surface, use S4S (surfaced four sides) clear lumber:
- 1x4s are standard and work great
- 5/4″ x 4″ boards (actual thickness about 1″) provide extra strength for commercial use
- Sand all edges smooth – 120 grit minimum, 220 grit for a furniture-like finish
- Round over edges with sandpaper or a router for comfort
Installing the Top Boards
- Layout: Start with your first board at the back edge. Work forward, maintaining consistent gaps.
- Spacing: Leave 3/8″ to 5/8″ gaps between boards. Use scrap wood as spacers for consistency. These gaps allow:
- Water drainage
- Air circulation for faster drying
- Heat to flow up through the bench
- Fastening from below:
- Pre-drill up through your support strips
- Use 1-1/4″ stainless steel or coated deck screws
- Drive screws carefully – they should grab the top boards firmly but not poke through
- Two screws per board at each cross support
- Front edge board: Install your final board vertically as a face board. This hides the frame and creates a finished look. Recess the screws and fill with wood plugs if desired.
Special Considerations for Long Spans
For benches over 8′ long:
- Add a center support leg (keep it 4″ back from the front edge so it’s not in the way)
- Use furniture glides on the bottom to prevent moisture wicking and allow sliding
- Consider using 2×6 for your frame instead of 2×4 for extra rigidity
Installation and Finishing Touches
You’re in the home stretch. Time to install these benches and add the finishing touches that make them last.
Installing Your Sliding Benches
- Test fit first: Before any finishing, slide the bench frame onto the cleats. It should fit with about 1/8″ clearance on each side.
- Sand everything: 120 grit, then 220 grit. Pay special attention to areas people will touch.
- Apply finish (optional but recommended):
- Paraffin oil treatment helps prevent sweat and moisture absorption
- Apply two thin coats, letting dry between
- Reapply annually for best results
- Final installation:
- Slide the lower bench in first
- Upper bench goes in second
- Add backrests if desired (mount these to the wall, not the bench)
Adding Backrests
Backrests aren’t just about comfort – they protect the wall from sweat and oils:
- Use the same clear wood as your bench tops (not required)
- Mount to wall studs with a small gap behind for air circulation
- Angle slightly (about 5 degrees) for comfort
- Keep the bottom edge 1″ above the bench surface for easy cleaning
Optional Upgrades
Under-bench lighting: LED strips mounted to the underside of the upper bench create beautiful ambient lighting. Make sure they’re rated for high heat and moisture.
Bench skirts: Vertical boards between upper and lower benches hide the support structure for a cleaner look. These are purely aesthetic but do make your sauna look more finished.
Removable sections: For saunas with limited access, consider making bench sections that connect with heavy-duty pins or brackets. Each section stays manageable for one person to move.
Common Mistakes to Avoid
Using regular interior screws: They’ll rust. Spring for stainless steel or properly coated deck screws.
Forgetting to account for wood movement: Wood expands and contracts. Those 1/8″ clearances aren’t just for installation ease.
Making benches too narrow: A 16″ upper bench feels cramped. Go for 20-24″ if at all possible.
Skipping the lower bench: Even if space is tight, a narrow lower bench/footrest makes a huge difference in comfort.
Over-engineering with too many legs: Properly supported wall-mounted benches don’t need legs every 2 feet. Trust the cleats and sturdy benches you’ve built.
Maintenance Tips for Long-Lasting Benches
- Weekly: Quick wipe with a damp cloth after use
- Monthly: Check for any loose screws and tighten as needed
- Annually: Light sanding of any rough spots, reapply paraffin oil
- As needed: Deep clean by removing benches entirely – that’s why we built them to slide out
Your Next Steps
Building your own sauna benches takes some planning and effort, but the result is exactly what you want – not a compromise based on what’s available pre-made. You know your space, your needs, and now you know how to build benches that’ll last for decades.
Start by measuring your space and sketching your layout. Order your lumber (remember – clear, knot-free wood for the tops). Gather your tools. Then take it step by step. The first bench always takes longest as you figure out your system. By the second one, you’ll be moving like a pro.
Questions about bench layouts or wood selection? Looking for DIY Sauna Material? Check out our complete selection of sauna lumber and materials. Want to see examples of different wood types and finishes? Visit our showroom in Cokato for a free sauna session – you can experience different bench styles firsthand.
Whether you’re building from scratch or upgrading existing benches, remember: the goal is creating a space where you’ll want to spend time. Get the benches right, and everything else falls into place.
P.S. if you decide building your sauna DIY isn’t worth the effort, we do offer professional sauna installation in Minnesota. Our team of builders have decades of combined carpentry experience and years of building saunas and we can build yours too. Just call 612-505-9700 or reach us through our online contact form.